Debian Desktop in a Container
1. Introduction
Installing a desktop Linux in a container may be just for testing, for fun, etc. Compared to installing it in a virtual machine, the advantages are that it is more resource efficient, and it is also possible to install it in a VPS on the cloud (where a virtual machine usually cannot be installed).
A desktop system installed on the cloud can also be accessed easily from anywhere in the world, and this makes it potentially very useful for online (remote) teaching and learning.
The steps for installing a desktop Linux in a container are like these:
-
Create a container from the image of a minimal system (just a basic command line system).
-
Install the desktop packages and other related packages (for example Xfce, or MATE, or KDE, etc.).
-
Install SSH and/or RDP services, which allow the container to be accessed remotely. The clients that can be used to access the desktop remotely can be: Guacamole (web based), X2Go, Remmina, etc.
-
Sometimes the ports needed for accessing the SSH and/or RDP of the container need to be accessible remotely.
We will see first how to setup a desktop system with a Docker container, because it is a little bit easier, and then we will try it with an LXC/LXD container as well.
2. Using Docker containers
We will use docker-scripts for managing the containers:
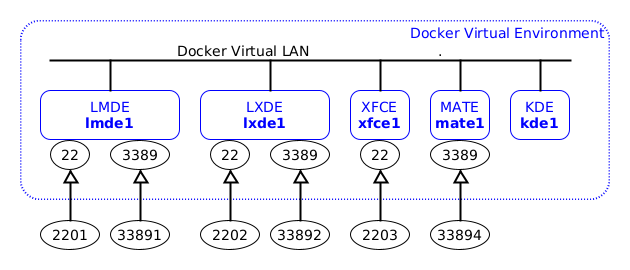
The diagram of the containers that will be installed looks like this:
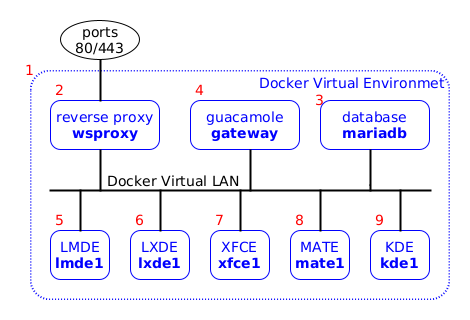
We need the guacamole container (4) in order to access the desktops of the other containers (5, 6, 7, 8, 9) through the RDP protocol. But guacamole needs a database (3). And since guacamole is accessed through a web interface, we also need a reverse proxy container (2) in order to access it. Of course, we also need docker (1) and docker-scripts in order to install these containers and the virtual LAN that connects them.
So the installation steps will like this:
-
Install docker and docker-scripts.
-
Install wsproxy, mariadb and guacamole.
-
Install lmde1, lxde1, xfce1, etc.
2.1. Requirements
-
Install Docker:
curl -fsSL https://get.docker.com -o get-docker.sh
sh get-docker.sh
See also these step-by-step installation instructions.
-
apt install git make m4 highlight git clone \ https://gitlab.com/docker-scripts/ds \ /opt/docker-scripts/ds cd /opt/docker-scripts/ds/ make install -
ds pull wsproxy ds init wsproxy @wsproxy cd /var/ds/wsproxy/ vim settings.sh ds make -
ds pull mariadb ds init mariadb @mariadb cd /var/ds/mariadb/ vim settings.sh ds make -
Install Guacamole:
ds pull guacamole
ds init guacamole @guac.example.org
cd /var/ds/guac.example.org/

vim settings.sh
# make sure to change the DOMAIN and the admin PASS
# make sure to uncomment and modify the DB settings

ds make
For more details about installing and using Guacamole see also: http://dashohoxha.fs.al/virtual-computer-lab/.
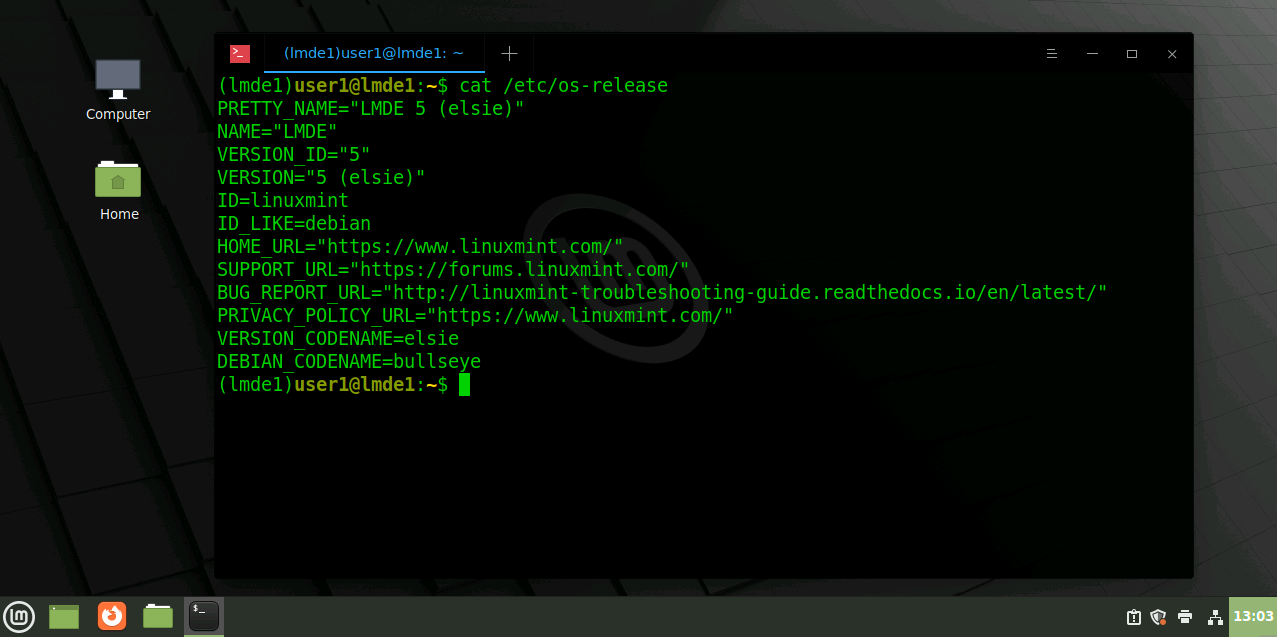
2.2. LMDE Container
Linux Mint Debian Edition is Debian with Cinnamon desktop, maintained by the Linux Mint team (who are also the developers of the Cinnamon desktop).
-
Follow these instructions for installing an LMDE container:
ds pull linuxmint lmde
ds init linuxmint-lmde @lmde1
cd /var/ds/lmde1/
vim settings.sh    # the default settings are usually ok
ds make
Notice that some default user accounts have been created as well:
cat accounts.txt -
Add an RDP connection in the configuration of guacamole, for this container:
cd /var/ds/guac.example.org/ ds guac ds guac conn add lmde1 rdp ds guac conn ls -
Open https://guac.example.org, login there as admin, and then click lmde1:rdp to start an RDP connection with the lmde1 container. On the RDP login dialog, use
user1andpass1to login.
In the debian container we have
installed
xrdp and xorgxrdp as well, besides the Cinnamon desktop, so that
we can access the desktop through an RDP client, which in this case is
provided by Guacamole, and can be used from a web browser.
By the way, in this container we have installed Epoptes too, and other educational software, so that it can be used for distant teaching, as a virtual lab. For more details see this presentation: https://www.sfscon.it/talks/virtual-computer-lab/
2.3. Other Desktops
The scripts at https://gitlab.com/docker-scripts/debian-desktop/,
which we can retrieve with ds pull debian-desktop, can be used
to install some other desktops on a debian container: LXDE, XFCE,
MATE, KDE, etc. Let’s try a few of them.
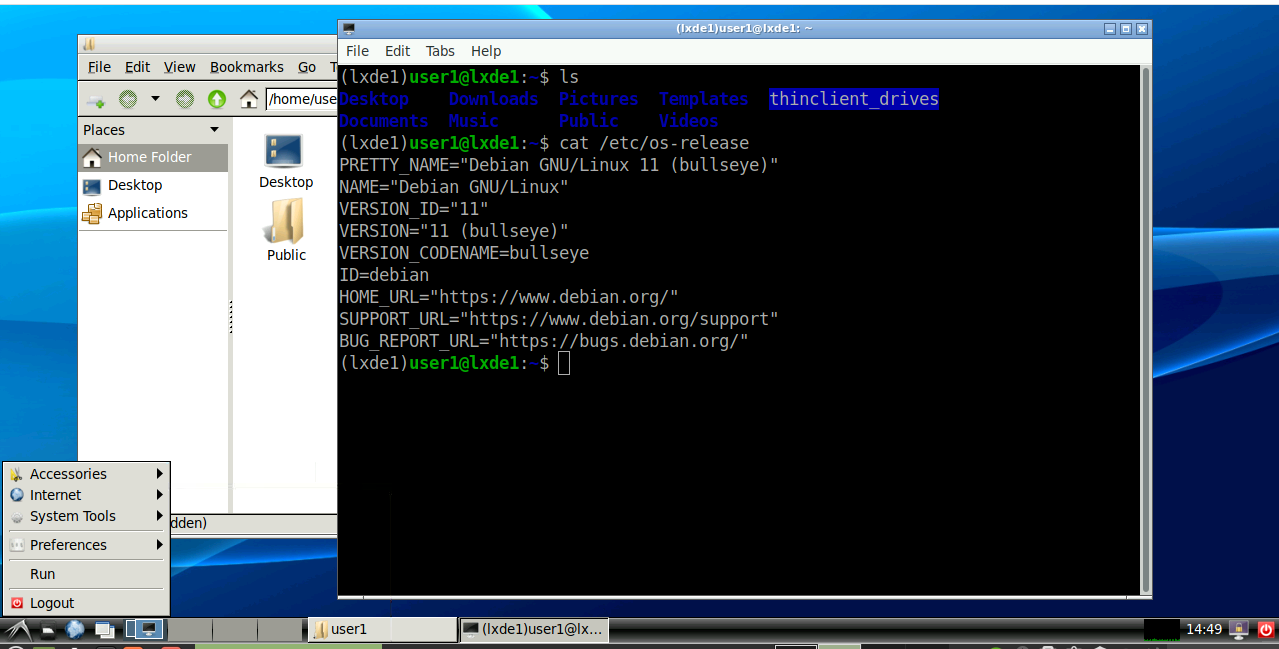
2.3.1. LXDE
-
Build the container:
ds init debian-desktop @lxde1 cd /var/ds/lxde1/ vim settings.sh ds make -
Add a connection to guacamole:
cd /var/ds/guac.example.org/ ds guac ds guac conn add lxde1 rdp ds guac conn ls -
Open the lxde1:rdp connection on https://guac.example.org, and use
user1andpass1to login.
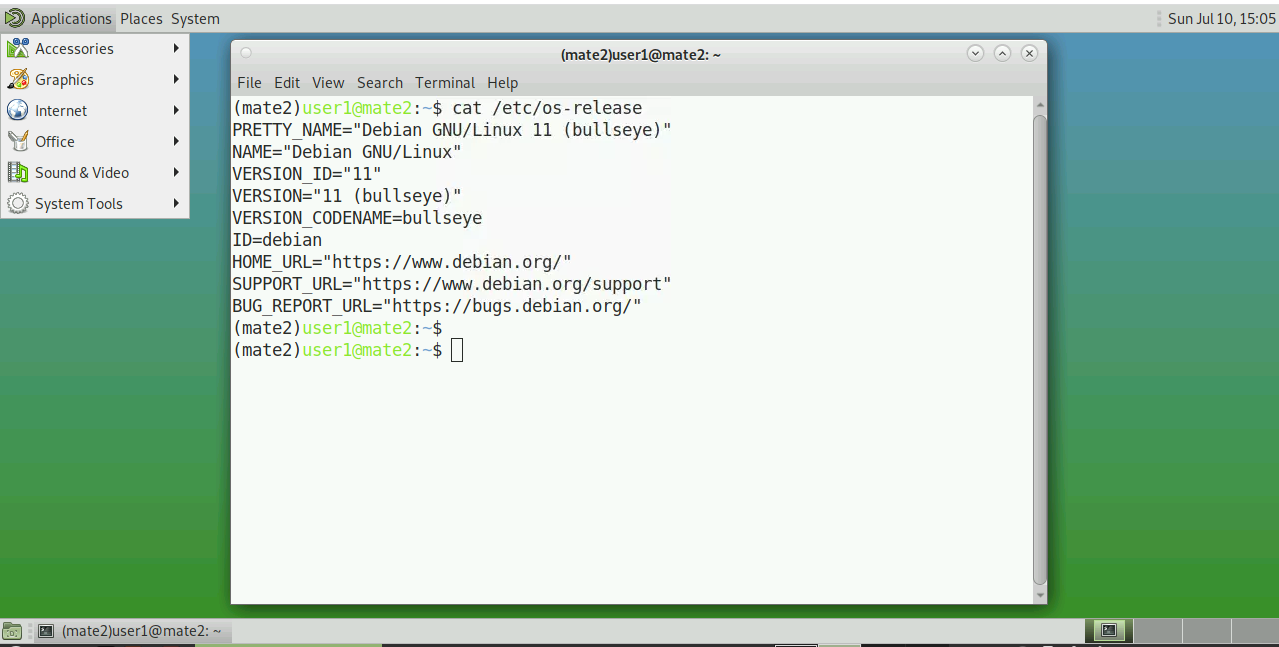
2.3.2. MATE
-
Build the container:
ds init debian-desktop @mate1
cd /var/ds/mate1/
vim settings.sh
ds make
Make sure to set
DESKTOP='mate'onsettings.sh. -
Add a connection to guacamole:
cd /var/ds/guac.example.org/ ds guac ds guac conn add mate1 rdp ds guac conn ls -
Open the mate1:rdp connection on https://guac.example.org, and use
user1andpass1to login.
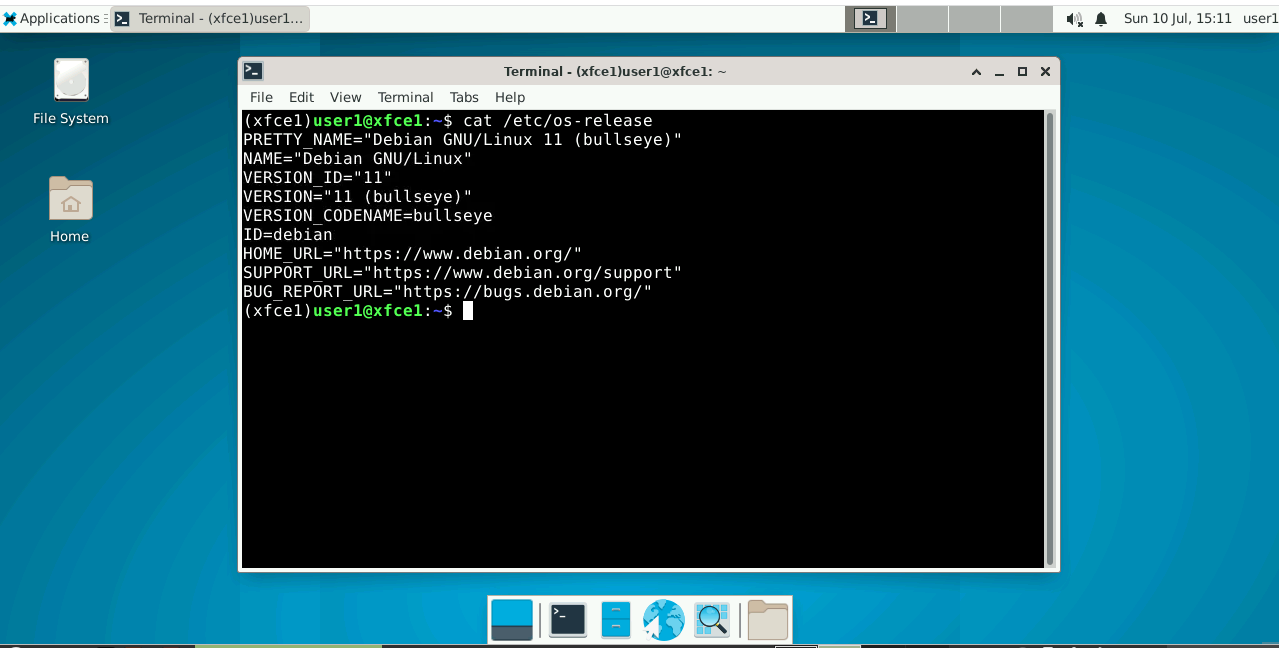
2.3.3. XFCE
-
Build the container:
ds init debian-desktop @xfce1
cd /var/ds/xfce1/
vim settings.sh
ds make
Make sure to set
DESKTOP='xfce'onsettings.sh. -
Add a connection to guacamole:
cd /var/ds/guac.example.org/ ds guac ds guac conn add xfce1 rdp ds guac conn ls -
Open the xfce1:rdp connection on https://guac.example.org, and use
user1andpass1to login.
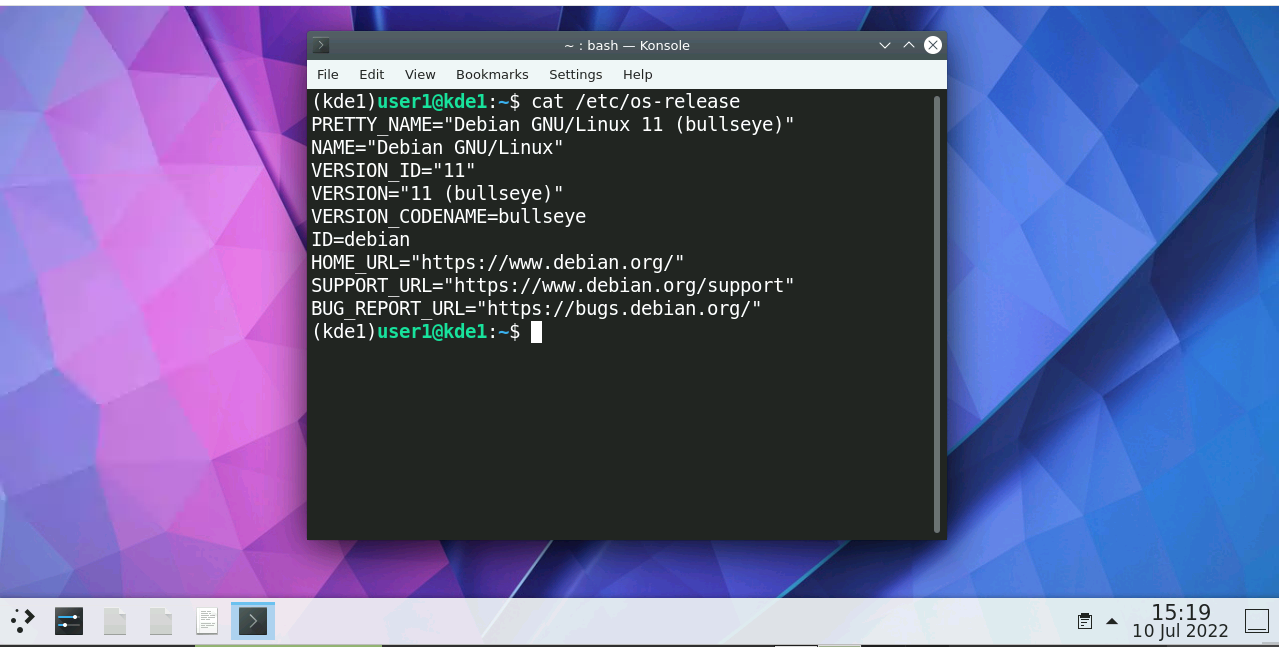
2.3.4. KDE
-
Build the container:
ds init debian-desktop @kde1
cd /var/ds/kde1/
vim settings.sh
ds make
Make sure to set
DESKTOP='kde'onsettings.sh. -
Add a connection to guacamole:
cd /var/ds/guac.example.org/ ds guac ds guac conn add kde1 rdp ds guac conn ls -
Open the kde1:rdp connection on https://guac.example.org, and use
user1andpass1to login.
2.4. Access the containers directly
It is also possible to access the desktop directly, without Guacamole as a gateway, but in this case we have to forward some ports from the host to the container.
For security reasons this is not recommended, because these ports will be accessible to the whole world, but if you know what you are doing it is up to you.
-
To forward the ports we need to rebuild the container:
cd /var/ds/lxde1/
vim settings.sh
ds make
Make sure that there is a line like this on
settings.sh:### Forwarded ports PORTS="2201:22 33891:3389" -
Install
remminaor some other RDP client on the local machine (laptop) and try to access the desktop of the container on the port 33891. -
Install
x2goclienton the local machine and try to access the desktop of the container on the port 2201.
3. Using LXC/LXD containers
3.1. Install LXD
On debian it can be installed like this:
apt install snapd
snap install core --channel=latest/stable
snap install lxd --channel=latest/stable
snap list
lxc list
lxd init
I have used a btrfs storage backend and no IPv6 for the
containers. For the rest of the settings I just kept the defaults.
|
3.2. Create a container
We can see the list of available images with the command lxc
image list:
lxc image list -c lst images: debian amd64 | less
lxc image list -c lst images: debian amd64 | grep CONTAINERFor the new container we are going to use the image debian/11,
and we are going to name it desktop1:
lxc launch images:debian/11 desktop1
lxc ls

lxc exec desktop1 -- bash
ip addr
ip ro
ping 8.8.8.8
exit3.3. Install a desktop
The container is a basic command-line system, but it is easy to install a desktop on it:
lxc exec desktop1 -- bash

apt install tasksel
tasksel --list-tasks
tasksel install lxde-desktop
clear
tasksel --list-tasks
adduser user1

exit
We have also created a user account.
3.4. Access it through Guacamole
To be able to access the desktop through Guacamole, we should first
install xrdp and xorgxrdp:
lxc exec desktop1 -- bash
apt install xrdp xorgxrdp
exit
Then we should add an RDP connection on the guacamole container:
cd /var/ds/guac.example.org/
ds guac conn add 10.210.64.133 rdp
ds guac conn ls
Use the IP of the container, as displayed by lxc ls.
3.5. Access it directly
First let’s install x2goserver and x2goserver-xsession, so that we
can access the desktop with an X2GO client as well.
lxc exec desktop1 -- bash
apt install x2goserver x2goserver-xsession
exit
X2GO uses the port 22 and RDP uses the port 3389, so we need to forward these ports from the host to the container:
lxc config device \
    add desktop1 port-ssh proxy \
    listen=tcp:0.0.0.0:2201 \
    connect=tcp:127.0.0.1:22
lxc config device \
    add desktop1 port-rdp proxy \
    listen=tcp:0.0.0.0:33891 \
    connect=tcp:127.0.0.1:3389

lxc config device list desktop1
lxc config device show desktop1
Most probably there is a firewall on the host, so we need to open the
forwarded ports (33891 and 2201) in the firewall. For firewalld,
it can be done like this:
firewall-cmd --zone=public --add-port=2201/tcp
firewall-cmd --zone=public --add-port=33891/tcp
firewall-cmd --zone=public --list-ports

### to make these changes permanently:
firewall-cmd --zone=public --add-port=2201/tcp --permanent
firewall-cmd --zone=public --add-port=33891/tcp --permanent
firewall-cmd --reload
firewall-cmd --zone=public --list-ports
For ufw, it can be done like this:
ufw allow 2201
ufw allow 33891
Now we can just use an RDP client or an X2GO client to access the desktop.